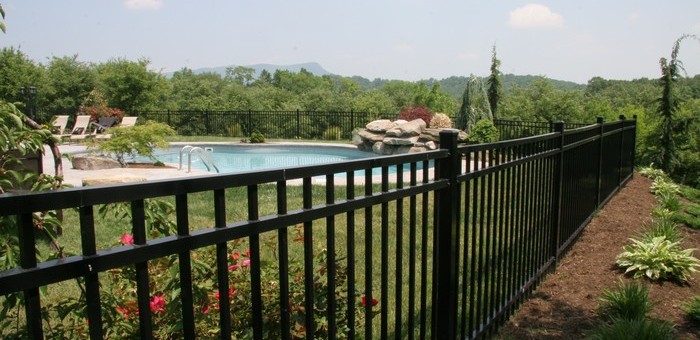
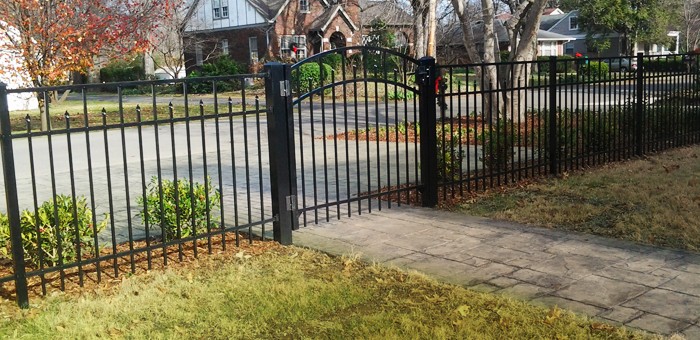

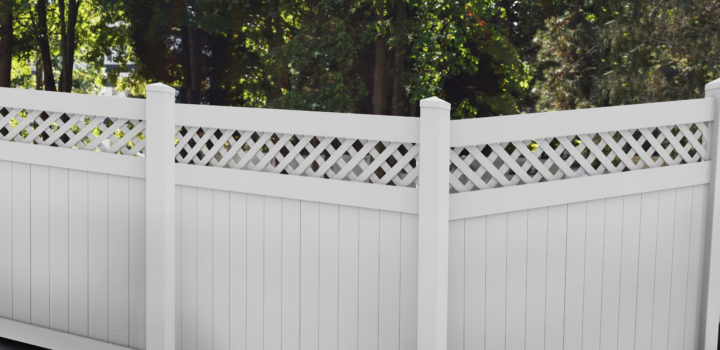
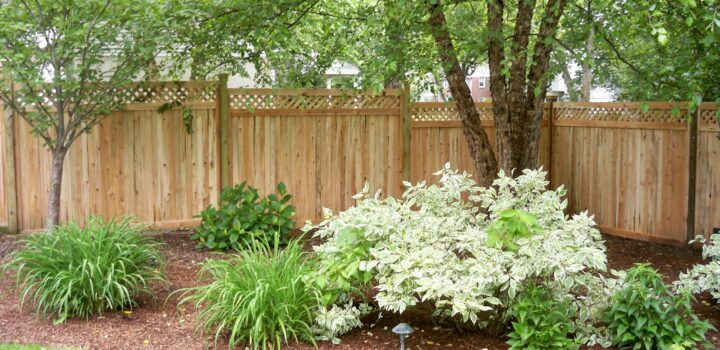
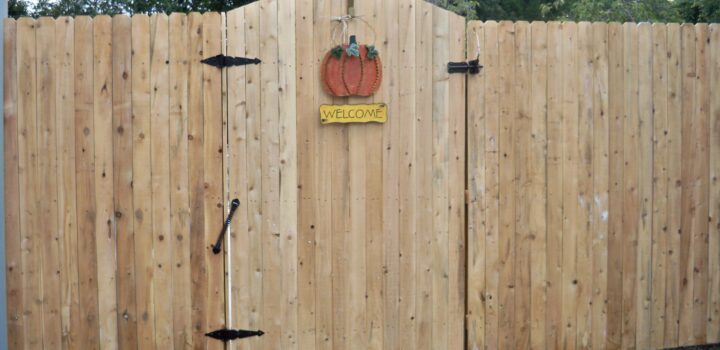
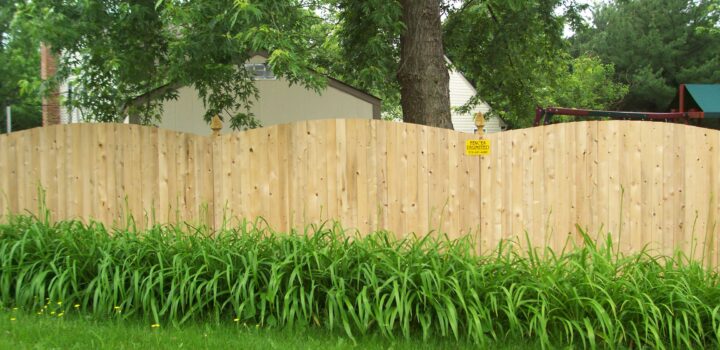

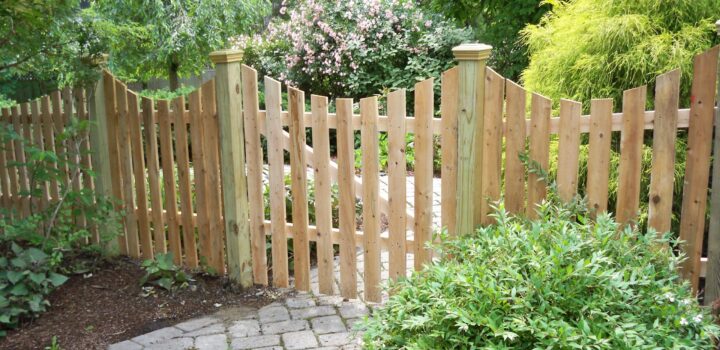
Many homeowners may not be aware that certain types of fencing require different methods for installing. Depending on what fence you prefer to choose, it is good to know about how the fence will be installed onto your property. We have found that the wooden fence is still an extremely popular fence amongst many customers. We feel that it may be important for you to know how a wooden fence is implemented into the ground, so that you will know how your property is being treated.
We at Greenhill Fencing Inc. know all about fence installation because of our extensive experience in the fencing industry. We have been installing fences for commercial and residential properties for years. Aside from selling fences and advising our clients on their fence projects, we also offer fence installation services. While many homeowners and business owners may opt to install the fence on their own, it is not a difficult task to do. As long as you have the right materials and equipment, the installation is a simple process. However, it does take a bit of heavy labor, so be ready to break a sweat!
Keep in mind that if you aim to install the fence on your own, it would be best for you to take on the project in the warmer months. During the winter, the ground becomes too hard from the chilly weather, making it difficult to put holes in the ground. A fence installation company like us has the proper equipment for installing fences in the winter time.
Step 1: Space out the Fence Posts
It is up to you to decide how far apart you would like your fence posts to be set. Fence posts are typically spaced between 6 and 8 feet apart. First, the corner posts are set. From each corner post, stretch a line so that you can use it as a guide to align all of the other posts. Make a mark in the exact position where you want each post hole to be dug.
Step 2: Prepare Posts and Holes
Dig the post holes using a posthole digger. Once the holes are dug, make sure that the posts will be set about 1/3 into the ground. A wood preservative should be placed on the section of the wood post that will be in the ground to preserve it from breaking or rotting over time.
Step 3: Set the Posts
Before you place the posts into the holes, put two to three scoops of gravel at the bottom. Using a level, make sure that the post is plumb. Align the posts accordingly and brace each one with stakes. With the posts in the holes, fill in the remaining space with dirt. Tamper the ground at the post base to pack down the dirt. Make sure that the post alignment does not become disturbed.
Step 4: Attach the Rails to the Posts
Once the posts are set, attach the top and bottom rails. There are several different ways to attach the rails to the posts, depending on preference.
Step 5: Install the Boards
If your fence has panels, they are applied by placing the first one to a corner post and then nailing it. Do this for all of the post corners and place a string line to the top of the boards for measuring the alignment. Next, nail down each board beside the other until they are all installed. Make sure to check that they are aligned correctly as you do this process.
