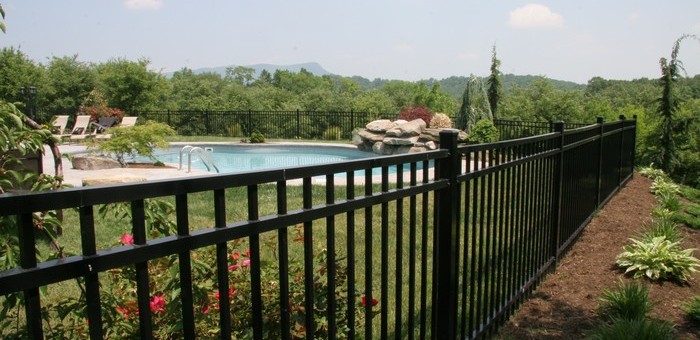

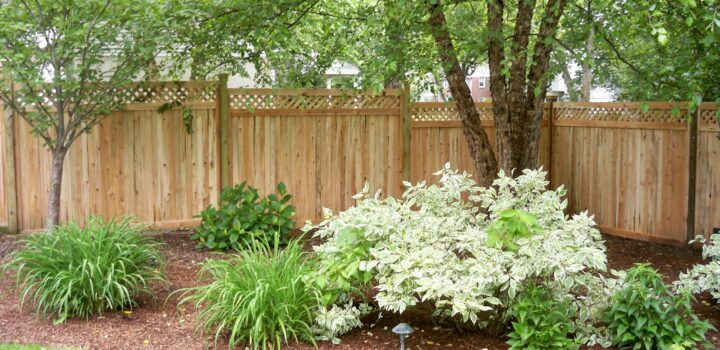
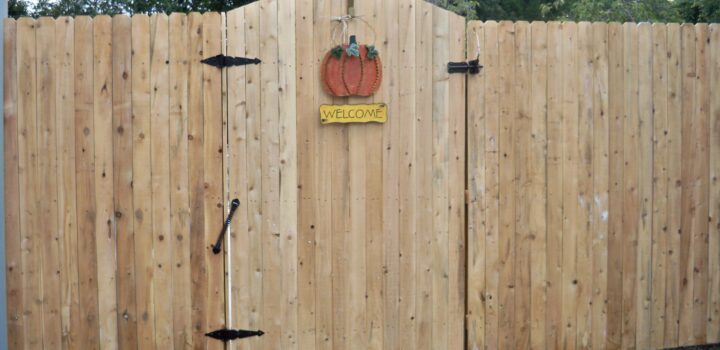

Over time, wooden fence posts can start to rot and deteriorate due to prolonged exposure to moisture from the surrounding soil. As these posts lose their structural integrity, fences can collapse, and posts may need replacing. As one of the most experienced and reputable fence companies in Philadelphia, PA, we’ve provided some actionable tips to protect your fence posts from rotting:
Wet Rot Vs. Dry Rot
When your wooden fence has begun to rot, knowing what kind of rotting has occurred can help you form a plan of action to combat it. Wet rot occurs when your wooden fence constantly comes into contact with increased levels of moisture. Wet rot causes your timber to crack and become soft to the touch, as well as emit a damp and musty odor.
On the other hand, dry rot occurs when the wood becomes exposed to harsh conditions for prolonged periods. Increased sun exposure and hot, dry winds can cause the natural protective oils found in the wood to dry out over time. You can tell it’s dry rot if the pieces of wood easily crumble in your hand.
Choose Rot Resistant Wood
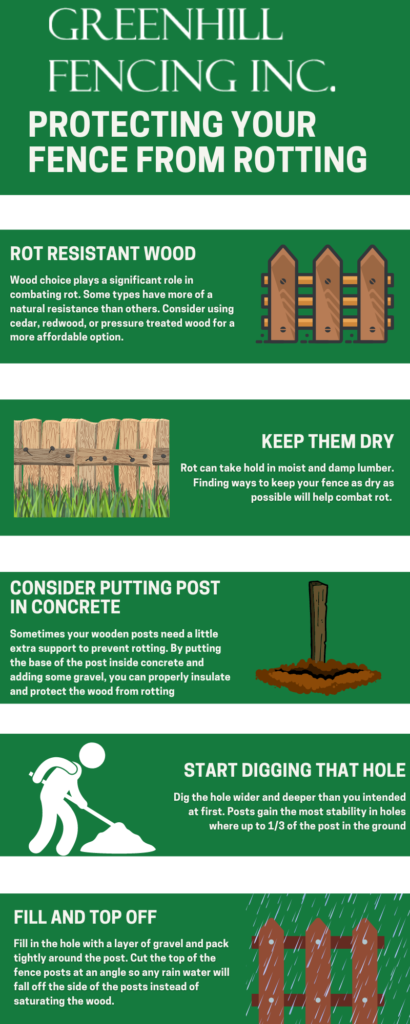
Fighting back against wood rot begins with the type of wood you choose for your fencing project. Some species of wood are naturally resistant to rotting and have evolved to protect themselves from decay. Some examples of rot-resistant wood include cedar, redwood, and mulberry strains.
While these species of wood are more resilient at fighting back against the signs of decay, they can also be expensive and challenging to work with. If you’re looking for a more affordable way to prevent your wood from rotting, you might want to consider pressure-treated wood as an alternative. Pressure-treated wood has been infused with a blend of copper or arsenic preservative to help keep it from rotting or destroyed by insects.
Pressurized wood is created by placing the wood in a pressurized tank that removes some air and replaces it with a preservative. The wood is then sealed with a product designed for exterior use, which further protects it from the damaging effects of rain and snow. Pressurized wood can provide you with a mixture of affordability and strength when installing your fencing.
Dry the Fence Posts Out
Drying is an essential factor when it comes to avoiding rot. This is especially vital if fence posts have been made from greenwood, as the moisture inside the wood can encourage rot. Also, moist wood isn’t as good at absorbing liquid wood preservatives as dry wood. If your posts are made from fresh wood, the drying process could take several months.
Consider Adding Posts to Concrete
If your post needs support anchoring in the ground, you can bury its base in concrete. First, dig a hole in the ground about 1/4th as deep as the post itself. Using a post-hole digger instead of a shovel to create your anchor hole is more effective, as it makes the perfect size anchor point.
From here, you should fill the hole with about 6 inches of gravel. This will prevent rotting by ensuring that the post is kept dry when water makes its way into the soil. Place the post in the gravel, then fill it with a batch of cement until it reaches the top of the hole.
Apply Preservative to the Wooden Post
We recommend brushing over the bottom third of the fence post with copper naphthenate. This wood preservative is free of chromium and arsenic, meaning it’s environmentally safe to use in your garden area. Apply the preservative liberally, even covering the entire post if you live in a region prone to wet weather and damp conditions. Keep applying fresh coats of copper naphthenate every hour until the wood stops absorbing the preservative.
Consider Staining Your Wood
Applying a seal or stain to your wooden fence can help provide an additional level of protection against rot. You can choose to use a water repellent sealant to your wood to help keep rot-causing moisture out from your fences. Additionally, you can potentially mix a sealant and a stain to protect both the wood and the colors from moisture accumulation.
Start Digging
Dig a hole at least twice the fence post’s diameter and between 24-48 inches deep. Posts are best positioned to stand upright if one-third of the total post length is buried. However, if you are unable to dig this deep, a minimum of 24 inches is acceptable. You should leave a portion of the treated wood exposed above ground.
Fill Up the Hole
Next, fill the hole with about 6 inches of fine gravel for tight compaction. Use a level base to pack the gravel tightly around the post. Set the post in the hole using a level to ensure that it stands straight and fill the area surrounding the post with more ¼ minus gravel. Cover the gravel with soil to conceal it, building the earth at a slight slope to encourage drainage and prevent water from gathering at the base of the post.
Finish Off
Finally, cut the top of the fence posts to their desired height with a saw. Cut at an angle so that any water runs off the tops without absorbing into the wood. Brush more preservative into any cracks that appear on the top of the fence posts, and then apply the sealer to all exposed wood to enhance protection.
DIY Rot Prevention Options
While the preceding options can help prevent rot as soon as you begin the installation, finding ways to stem the rot and keeping your fence in good condition is equally important. Keeping your fence posts clean from other outdoor materials that can cause rot is made easier with these three common household options:
Power Washer
When your fence posts have accumulated grass, mulch, dirt, and dust, leaving them unattended can cause rot to fester. By utilizing a power washer, you have an easier time getting rid of all of this debris and do a thorough job at the same time. Keeping the nozzle at an angle helps prevent any debris from shooting back up, preventing it from resettling on your fence posts again.
Baking Soda
Many household DIY cleaning tips involve using baking soda in some capacity. This mythical cleaning agent has its status for a good reason: it does an excellent job of getting things clean. You can use it on your wooden fence posts to provide an even deeper clean after pressure washing without running the risk of hazardous chemicals found in some cleaning products.
Vinegar
In some instances, algae or mold can grow on your wood fences due to moisture buildup. These green and black splotches on your wood can be unsightly and potentially hazardous to your health. Applying vinegar to these spots can help address the problem at its source. The antimicrobial properties of vinegar help kill the algae and mold and help protect your fence from future occurrences.
For more information from one of the leading fencing companies in Chester County, PA, click here to contact Greenhill Fencing today!