
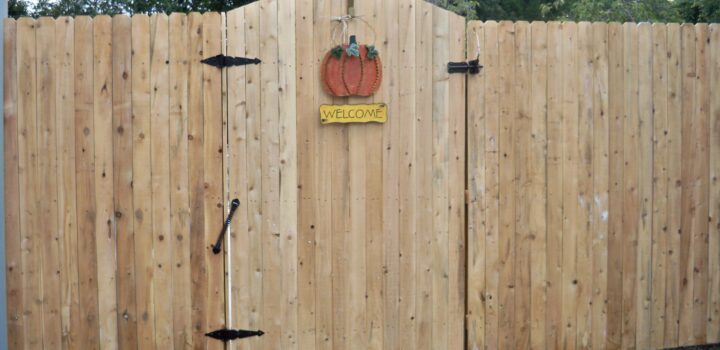

Your wood fence serves to protect your home and yard and provides a beautiful touch of curb appeal that matches the design of your home. Accidents happen, but if you notice the fence posts are in good condition, you can save plenty of time and money by simply replacing the damaged panels. Wood fence replacement is simple and easy, and following these steps will make for a seamless project that’ll return your fence to relevance.
How Do I Know My Panels Need Replacement?
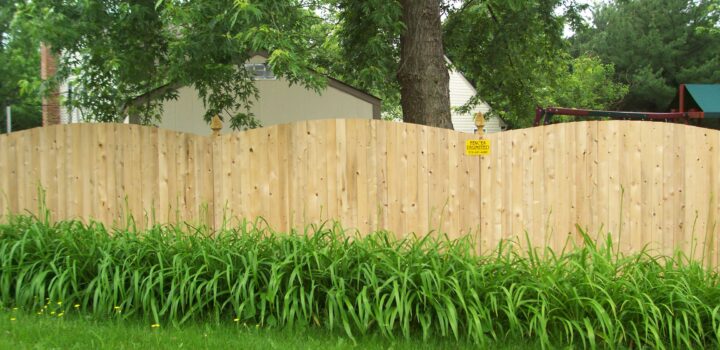
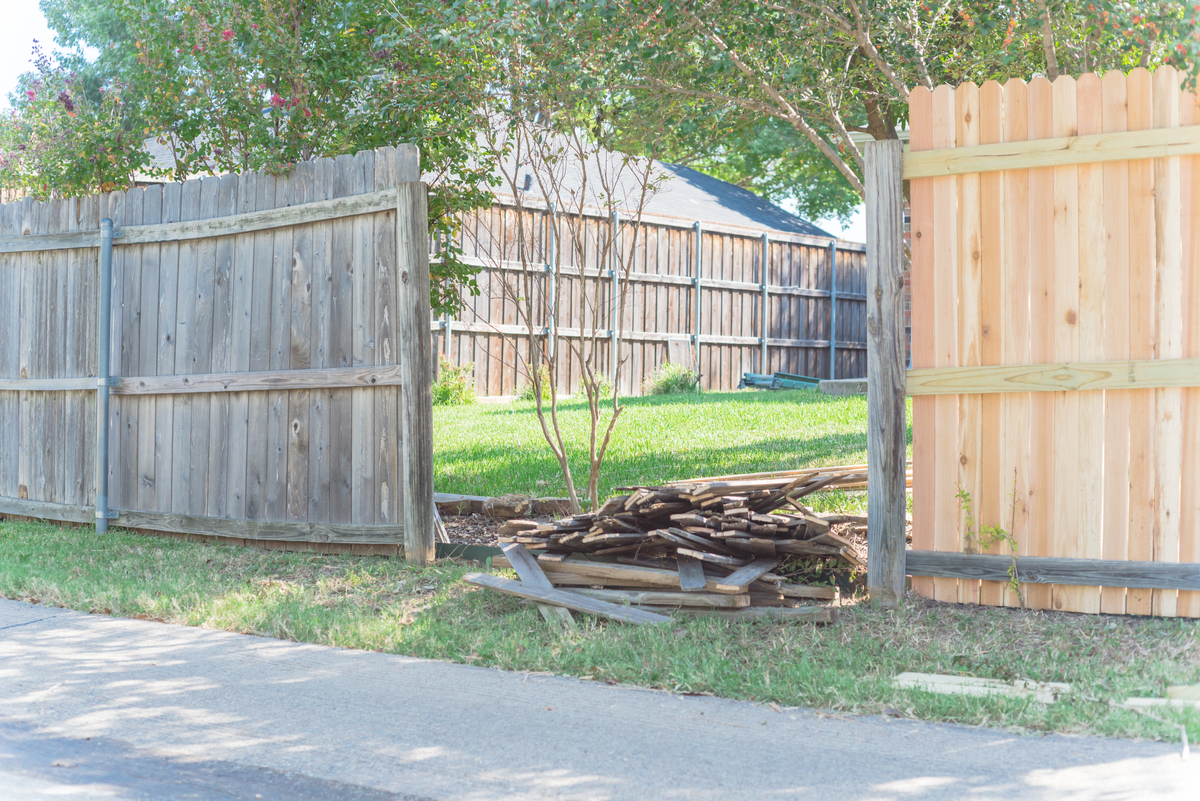
Your wood panels might need a replacement for many reasons, from weather concerns to accident damage. A strong wind or rainstorm could damage the fence line or cause a tree to fall on your fence. Excessive rain over time can also leave your panels moist and rotting from the inside out. The wood might also be discolored and splintered at different locations, indicating it’s time for a replacement.
Make Sure the Fence Posts are In Good Condition
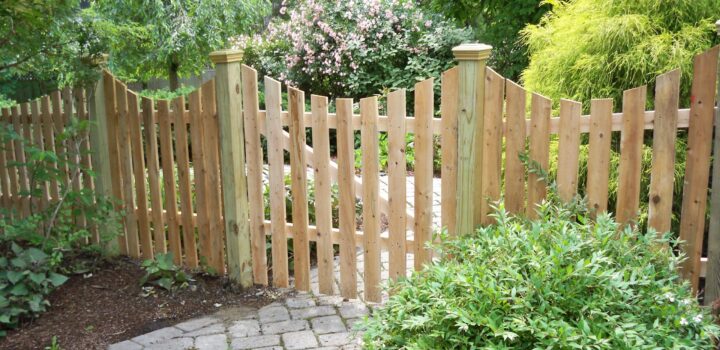
Your first step is to make sure your fence posts are in good condition before replacing the fencing panels between them. Wooden fence posts can rot from the inside out, and you don’t want to install fences and find out you have to replace damaged posts a few weeks later.
Grab a screwdriver and poke the wood with the tip. If the wood is soggy and soft or pushes inward when the screwdriver makes contact, your wood is likely rotting, and you should consider a complete repair or replacement. In addition, ensure each fence post is straight and level before proceeding with the project. If your posts pass the test, you’re ready to begin.
Replacing the Panels
Before starting, you want to gather all the tools you need:
- Hammer/drill
- Level
- Pry bar
- Replacement panels
- A friend for assistance
Step 1
Grab your pry bar and leverage out the damaged panels. Have your friend help slide the panels out of place and set them aside. Take the end of your hammer and remove any nails or screws stuck in the posts or panels.
Step 2
Ensure your posts are all level and steady. If your posts are loose or not level, dig up the post hole and adjust the height of your posts. Once they’re level, cover the hole back with dirt level to the ground, or consider a cement mixture for a steadier grip.
Step 3
You or your friend should hold the panel steady in the center of the posts. Drill holes into the panels where the nails will go and mount the panels to the post. If you’re using a hammer, one person holds the panel steady while the other hammers in the nails to secure the panel in place.
Step 4
Repeat the process for the remaining panels until your fence is fully replaced!
Consider Greenhill Fencing for Your Fence Panel Replacement!
If you want to replace your fence panels, it doesn’t hurt to call on the professionals to handle the job for you. Greenhill Fencing’s expert fence contractors in Philadelphia have knowledge of all things fencing, from wooden panels to vinyl fences, and will show you every option to find the fence style that works best for you. Contact us today, and don’t waste any more time with a fence that holds back the beauty of your property!